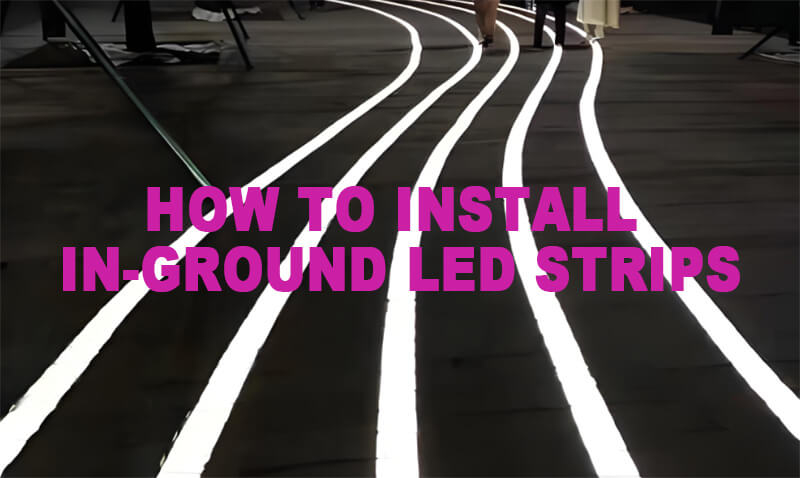
In-ground LED strips, also known as buried or recessed LED strips, are a popular choice for enhancing outdoor spaces like pathways, gardens, and driveways. Their seamless, low-profile design creates stunning visual effects while providing functional lighting. However, proper installation is crucial to ensure durability, safety, and optimal performance. In this guide, we’ll walk you through the installation process and share essential tips to avoid common pitfalls.

Step 1: Plan Your Layout
Before starting, carefully plan where the LED strips will be installed. Consider the following:
- Purpose: Are you illuminating a pathway, highlighting a garden feature, or creating ambient lighting?
- Spacing: For pathways, space the strips evenly (e.g., every 2–3 feet) to ensure consistent light distribution.
- Power Source: Determine the nearest power outlet or transformer location to minimize wiring.
Pro Tip: Use chalk or spray paint to mark the exact positions of the strips on the ground.
Step 2: Prepare the Installation Area
- Excavate the Ground: Dig a trench deep enough to accommodate the LED strip housing and wiring. A depth of 4–6 inches is typically sufficient.
- Ensure Proper Drainage: Slope the trench slightly to allow water runoff and prevent pooling.
- Compact the Soil: Use a tamper to create a stable base for the LED strips.
Step 3: Install the LED Strips
- Lay the Strips: Place the LED strips into the trench, ensuring they are level and aligned with your markings.
- Connect the Wiring: Use waterproof connectors to link the strips to the power source. For longer runs, consider using a transformer to avoid voltage drop.
- Test the System: Before burying the strips, power them on to ensure they work correctly.
Pro Tip: If you’re using multiple strips, connect them in parallel to maintain consistent brightness.
Step 4: Secure and Seal the Installation
- Anchor the Strips: Use mounting brackets or adhesive to secure the strips in place.
- Seal Connections: Apply silicone sealant to all wiring connections to prevent moisture ingress.
- Backfill the Trench: Carefully cover the strips with soil or gravel, ensuring they remain level and undamaged.
Step 5: Final Checks and Maintenance
- Inspect the Installation: Ensure the strips are evenly lit and free from debris.
- Clean Regularly: Remove dirt or leaves that may accumulate on the strips to maintain brightness.
- Monitor Performance: Check for any signs of damage or malfunction, especially after heavy rain or extreme weather.
Installation Tips & Common Mistakes to Avoid
- Avoid Overloading Circuits: Ensure the total wattage of the LED strips does not exceed the transformer’s capacity.
- Use High-Quality Materials: Opt for IP68-rated LED strips and waterproof connectors to ensure longevity.
- Plan for Future Maintenance: Leave access points for wiring in case repairs are needed.
For more detailed installation guides, visit our installation resources.
Why Choose ZBL for Your In-Ground LED Strips?
At ZBL, we specialize in high-performance in-ground LED strips designed for durability and aesthetic appeal. Our products feature:
- Premium Materials: 316 stainless steel and Samsung LED chips for unmatched quality.
- Custom Solutions: Tailored designs to fit your project’s exact specifications.
- Global Certifications: UL, CE, and RoHS certified for safety and compliance.
Explore our full range of in-ground LED strips here.
Conclusion
Installing in-ground LED strips can transform your outdoor space into a beautifully lit, functional area. By following this step-by-step guide and avoiding common mistakes, you can ensure a seamless and long-lasting installation. At ZBL, we’re committed to providing innovative lighting solutions that meet your needs.
Ready to get started? Contact us today to discuss your project!
If you need assistance from professionals, feel free to contact us. We are here to provide you with expert help and support for all your needs. Don't hesitate to reach out to our team for personalized assistance and solutions. We look forward to serving you.

