LED strip lights are versatile and energy-efficient lighting solutions that can enhance the aesthetics of any space. Whether you're looking to add accent lighting, task lighting, or decorative elements, choosing the right LED strip lights and installing them correctly is crucial for achieving the desired effect. This guide covers essential tips for selecting and installing LED strip lights.

1. LED Strip Light Selection Skills
A. Determine the Purpose
Before selecting LED strip lights, identify the purpose they will serve. Common uses include:
- Accent Lighting: To highlight specific areas or objects, like artwork or architectural features.
- Task Lighting: For practical applications, such as under-cabinet lighting in kitchens or workspaces.
- Ambient Lighting: To create a comfortable and inviting atmosphere.
- Decorative Lighting: For adding color or effects to spaces, such as in entertainment areas.
B. Choose the Right Type
LED strip lights come in various types, each suited to different applications:
- Single-Color LEDs: Emit a single color and are ideal for accent or task lighting.
- RGB LEDs: Capable of producing a wide range of colors, perfect for decorative or dynamic lighting setups.
- RGBW LEDs: Include an additional white LED chip for more accurate color rendering and better white light quality.
- Tunable White LEDs: Allow adjustment of color temperature from warm to cool white, suitable for spaces where lighting needs change throughout the day.
C. Consider Brightness and Color Temperature
- Brightness: Measured in lumens per meter, the brightness needed depends on the application. For example, task lighting requires higher lumens, while accent lighting may need less.
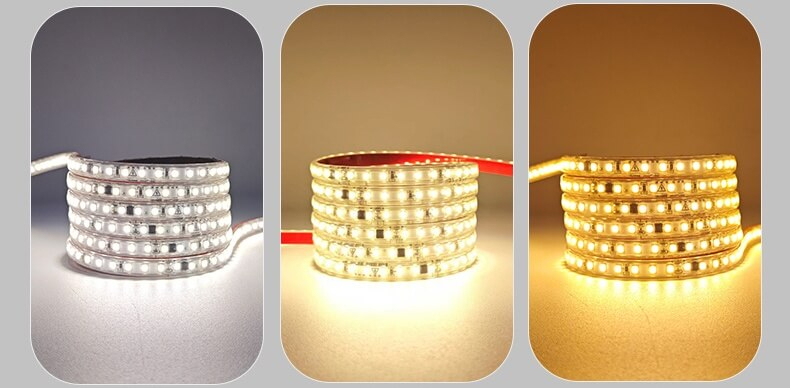
- Color Temperature: Measured in Kelvins (K), color temperature affects the ambiance. Warm white (2700K-3000K) creates a cozy feel, neutral white (3500K-4000K) is suitable for task areas, and cool white (5000K-6500K) is ideal for workspaces.
D. Check the IP Rating
The IP (Ingress Protection) rating indicates the level of protection against dust and water. For indoor applications, IP20 is typically sufficient. For outdoor or moisture-prone areas like bathrooms or kitchens, an IP65 or higher rating is recommended.
E. Evaluate Power Requirements and Length
- Power Consumption: Ensure the power supply matches the total wattage of the LED strip lights. Calculate this by multiplying the power consumption per meter by the total length of the strips.
- Length: LED strip lights come in various lengths and can usually be cut to size at designated points. Consider the maximum run length to avoid voltage drop, which can reduce brightness at the strip's end.
F. Select the Right Accessories
- Power Supplies: Choose a power supply that matches the voltage (typically 12V or 24V) and wattage requirements of the LED strips.
- Controllers and Dimmers: For RGB, RGBW, or tunable white strips, a controller is necessary to change colors or adjust brightness. Dimmers can be used with single-color strips to control brightness levels.
- Mounting Channels: Aluminum channels with diffusers not only protect the strips but also help dissipate heat and provide a professional finish.

2. Installation Guide for LED Strip Lights
A. Planning and Preparation
- Measure the Installation Area: Determine the length of LED strip lights required by measuring the installation area. Account for any bends or corners.
- Clean the Surface: Ensure the surface where the strips will be installed is clean and dry for optimal adhesion.
- Prepare the Strips: If necessary, cut the strips to the required length at the designated cutting points. Always follow the manufacturer's guidelines when cutting.
B. Installation Steps
- Adhesive Backing: Most LED strips come with an adhesive backing. Peel off the protective layer and press the strip firmly onto the surface. For a more secure installation, use additional mounting brackets or clips.
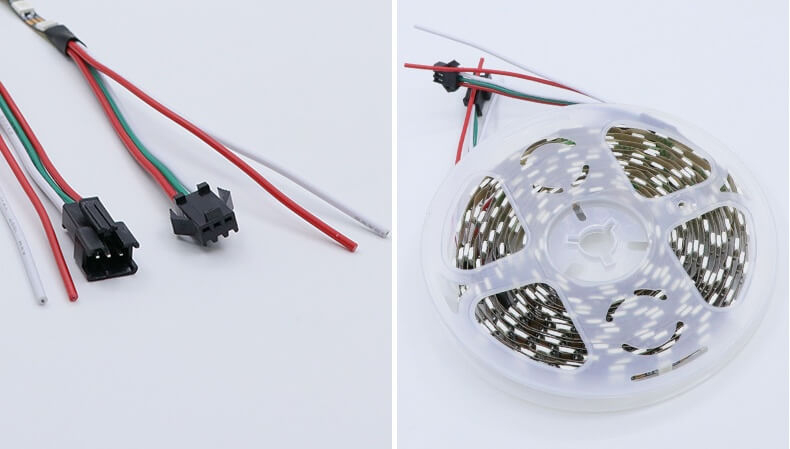
- Connecting the Strips: If you need to join multiple strips, use appropriate connectors or solder the connections, ensuring proper alignment of positive and negative terminals.
- Wiring and Power Supply: Connect the LED strips to the power supply. If using a dimmer or controller, connect these between the strips and the power supply according to the manufacturer's instructions.
- Test the Installation: Before finalizing the installation, test the LED strips to ensure all connections are secure and the lights function as expected.
C. Additional Tips
- Heat Dissipation: To prolong the lifespan of your LED strips, ensure adequate heat dissipation. This can be achieved by using aluminum mounting channels or ensuring good airflow around the strips.
- Avoid Overloading: Do not exceed the maximum length or power capacity recommended by the manufacturer to avoid overheating and potential damage.
- Use Correct Voltage: Always use the correct voltage power supply. Using a higher voltage can damage the LEDs and reduce their lifespan.
D. Safety Considerations
- Proper Wiring: Use proper wiring techniques to prevent short circuits or electrical hazards. If unsure, consult a professional electrician.
- Moisture Protection: For outdoor or moisture-prone installations, ensure the strips and connections are adequately protected against water ingress.

Conclusion
Selecting and installing LED strip lights requires careful consideration of various factors, including the type of LED strips, brightness, color temperature, and power requirements. Proper installation techniques are crucial for ensuring a long-lasting and effective lighting solution. By following these guidelines, you can achieve the perfect lighting setup tailored to your specific needs and preferences.
If you need assistance from professionals, feel free to contact us. We are here to provide you with expert help and support for all your needs. Don't hesitate to reach out to our team for personalized assistance and solutions. We look forward to serving you.


